
Repairing a Broken Fiber Optic Cable
This article covers the typical steps required to repair and/or re-terminate a damaged fiber optic cable. The actual steps may vary depending on the cable and/or connectors.
Fiber optic cables are typically damaged in one of two ways:
- A premade fiber optic cable suffers connector damage when too much pull-force is applied during installation. This can occur on long cable runs through tight conduit or duct, and also if the cable becomes caught or snagged.
- A fiber optic cable is cut or broken in the middle of the cable run and the two ends require splicing to re-connect them.
The equipment used in this article are:
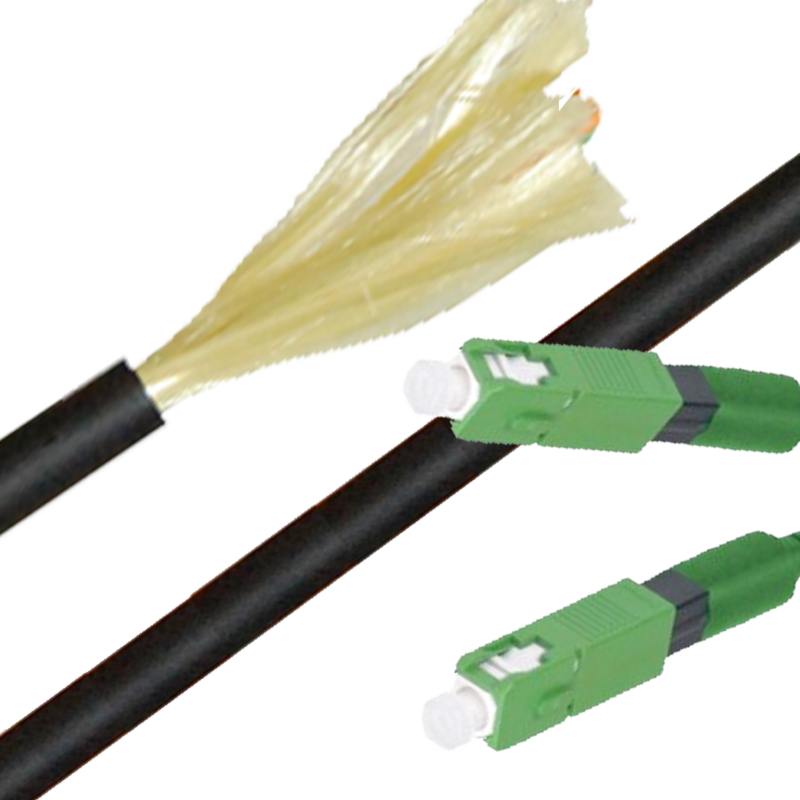
- Single mode fiber optic cable
- Single mode fiber optic LC mechanical connector
- Three-hole jacket stripper
- Kevlar sheers
- Precision cleaver
- Lint free wipes
Scenario One: Step-by-Step Process to Repair a Broken Connector
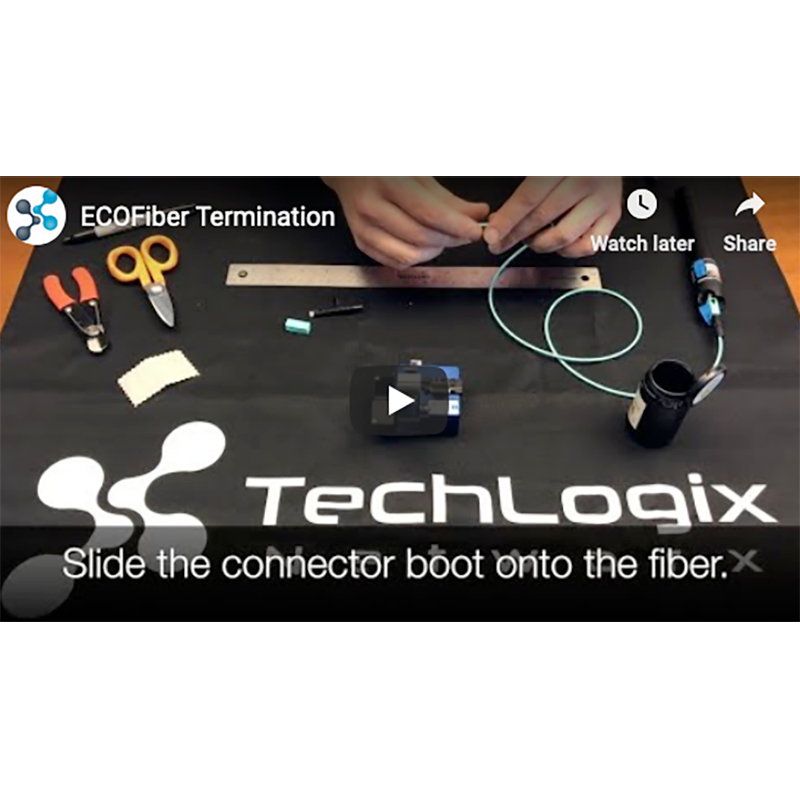
Note: the below process assumes ECOConnectors will be used to re-terminate the broken connector. You can watch a step-by-step termination video in the TechLogix Knowledge Base.
Step 1: Use the kevlar sheers to cut the fiber optic cable at the point of damage creating a clean working edge. Slide the connector boot onto the fiber.

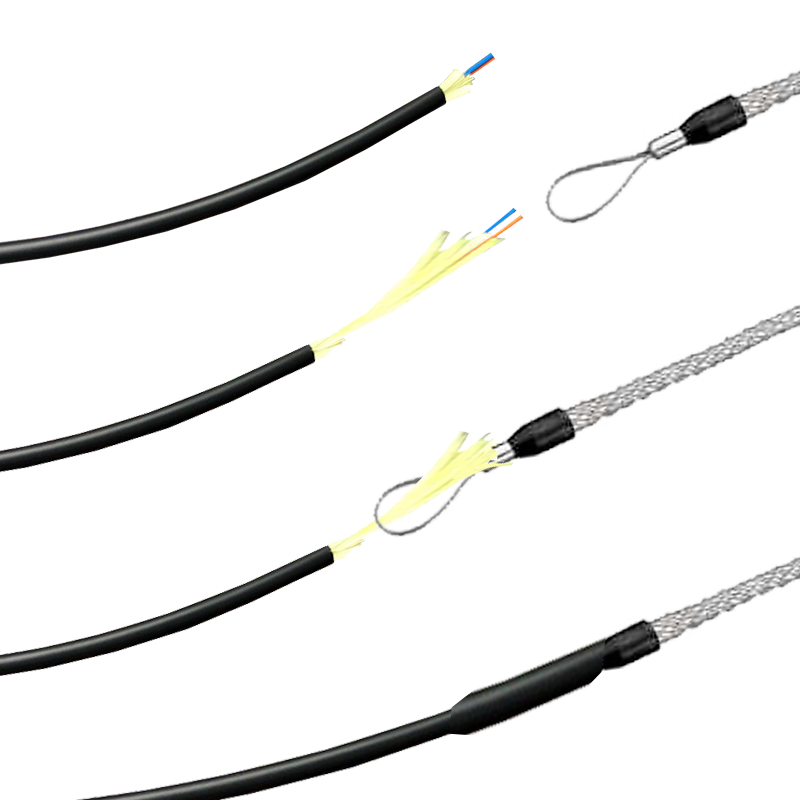
Step 2: Use the three-hole jacket stripper to strip back approximately 2 inches (50mm) of the outer cable jacket, exposing the internal fiber strands.

Step 3: Separate the internal yarn from the fiber strand. Use the three-hole jacket stripper to remove the inner strand coating. Follow the connector's instructions for recommended strip length.

Step 4: Cleave the fiber to length using your precision cleaver. Follow the connector's instructions for recommended cleave length.

Step 5: Clean any impurities from the fiber strand using an alcohol wipe.

Step 6: Insert the fiber strand into the connector and slide the locking tab closed. A visual fault locator may be used to show if the fiber is completely and properly seated within the connector.

Step 7: Screw the connector boot onto the connector and trim any exposed yarn. Ideally, re-terminated connectors should be tested using a visual fault locator and/or fiber optic meter.

Scenario Two: Splicing a Broken Cable
Fiber optic cables can suffer damage that effectively breaks the fiber optic strands in the middle of the cable run. This often occurs from abrasion or rodent damage on unprotected cables, or simply from accidental cuts from diggers, landscapers and contractors. Should a break occur, the cable requires splicing to reconnect the two ends.
The most common method of splicing uses a mechanical splice kit, such as the UNIV-SPLICE-005.
 |
| Mechanical Splice Kit |
Splicing is very similar to re-terminating (the process described in step 1); however, instead of using a connector which is the end point of a cable run, you use a splice which extends (or in this case reconnects) a cable run.
The basic process is:
- Cut out the damaged portion of the cable.
- Prepare both ends of the cable by stripping back the jacket, buffer and cleaning the exposed fiber strand.
- Insert both ends of the cable into the splice.
- Push the locking button.
Depending on the environment, wrapping or heat shrinking/sealing the splice may be advised.
You can download splicing instructions and watch a step-by-step video on the TechLogix UNIV-SPLICE-005 page.

Comments